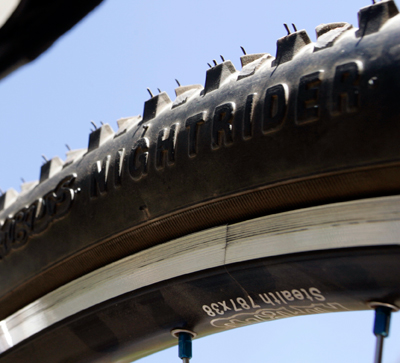
After an unexpected GUni crash on Reed Track the other day due to a stick getting picked up by the Duro tread and jammed against the short Magura crossover line, I had a dig around in the spare parts box and found an old length of line – a bit out of shape but good enough and most importantly longer.

Bleeding brakes can sometimes be a little messy, especially without an extra pairs of hands to help. I was in the process of cleaning a Nimbus 24″ MUni frame from the last Monthly MUni so mounted the brakes on it temporarily. Much easier to handle the bleeding process this way with one set of hands and no worries about spillage onto the rim etc.
Bleeding Magura HS33’s is straightforward:
- Set the brake adjustment knob all the way open to ‘-‘. It’s easy to forget to do this!
- Fill a syringe (with filler tube and fitting attached) with Magura blood
- Remove the bleed screw on the slave cylinder, and fit the oil filled syringe/filler tube. Use an 8mm spanner to tighten
- Remove the bleed screw from the brake lever and fit the vent tube, holding end of vent tube in oil bottle
- Keep both bleed screws and matching Allen keys within easy reach
- Push the entire syringe of oil through the system, until no air bubbles are visible in the vent tube i.e. bleed is complete
- Carefully remove vent tube from brake lever and replace bleed screw
- Carefully remove filler tube from slave cylinder and replace bleed screw
- Don’t bump or mess with the brake lever until both bleed screws are firmly in place
- Now test! The brake pads should move instantly with the lever. There should be no leaks.
- Wipe off any spills and fit on uni
Magura recommends setting the brake pads parallel to the rim, however I prefer to set a slight toe in (< 0.5mm) on the pads.
A longer crossover line – bled, fitted and ready to roll!